Getting started
Create your account, claim your booking URL, add your games and staff, and take your first booking — most venues are live in under ten minutes.
1. Create your account
Head to revynengine.com/signup, pick a plan and claim your venue slug — the short name that becomes your booking URL (for example aurora-vr). Every plan starts with a 14-day free trial and there are no setup fees. Once checkout completes you'll get an email with your login, and your dashboard is ready at dashboard.revynengine.com.
2. Take a look around the dashboard
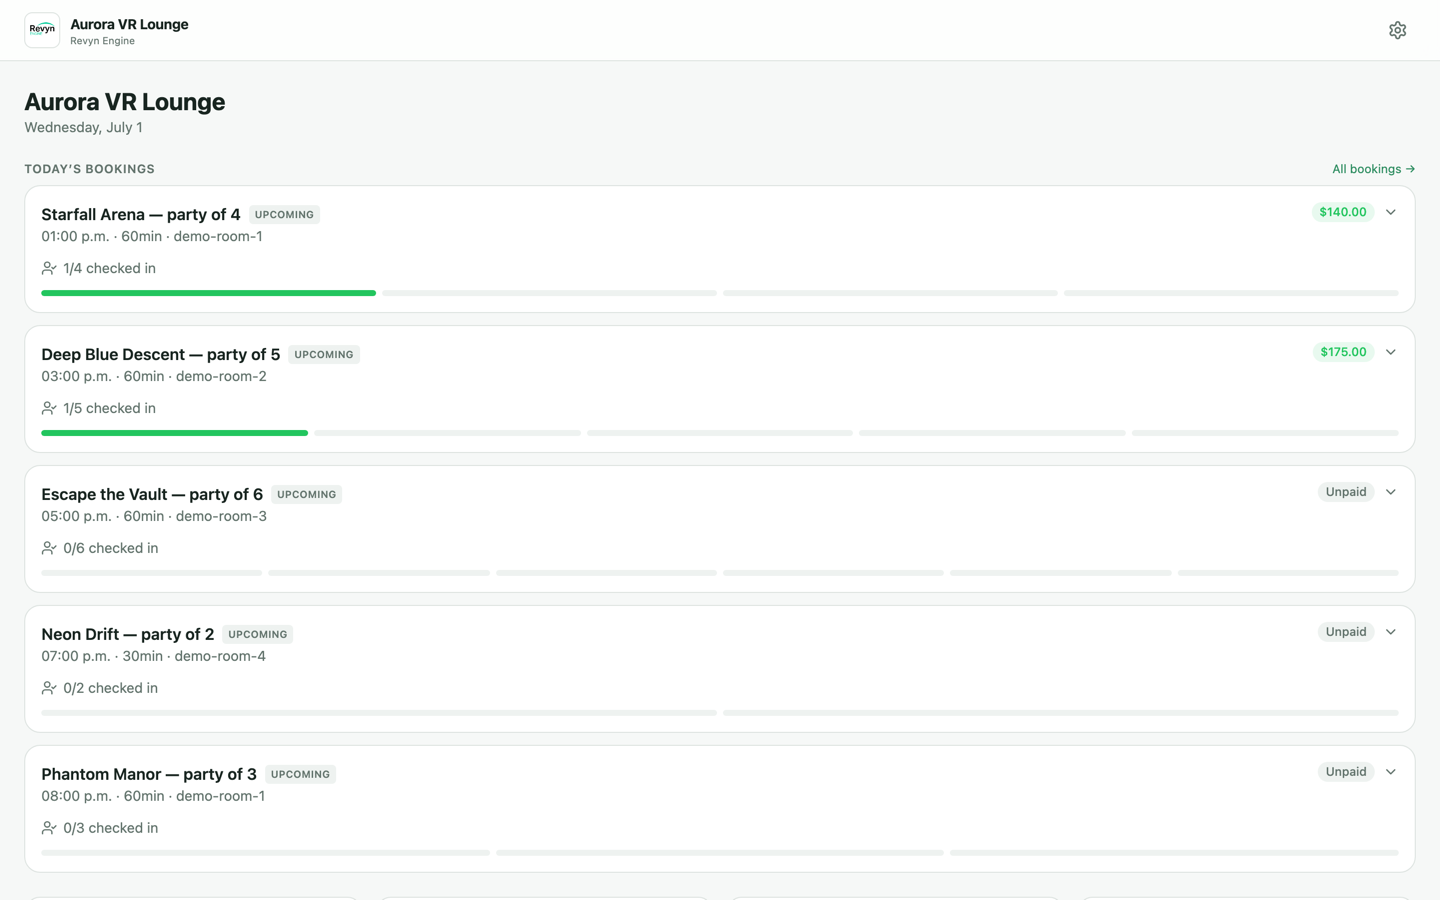
The dashboard home shows today at a glance: every booking with its party size, room, payment status and a live check-in progress bar per guest. From here you can jump into Bookings, Check-ins, Customers, Payments, Games, Campaigns, Conversations and Analytics.
3. Set up your venue identity
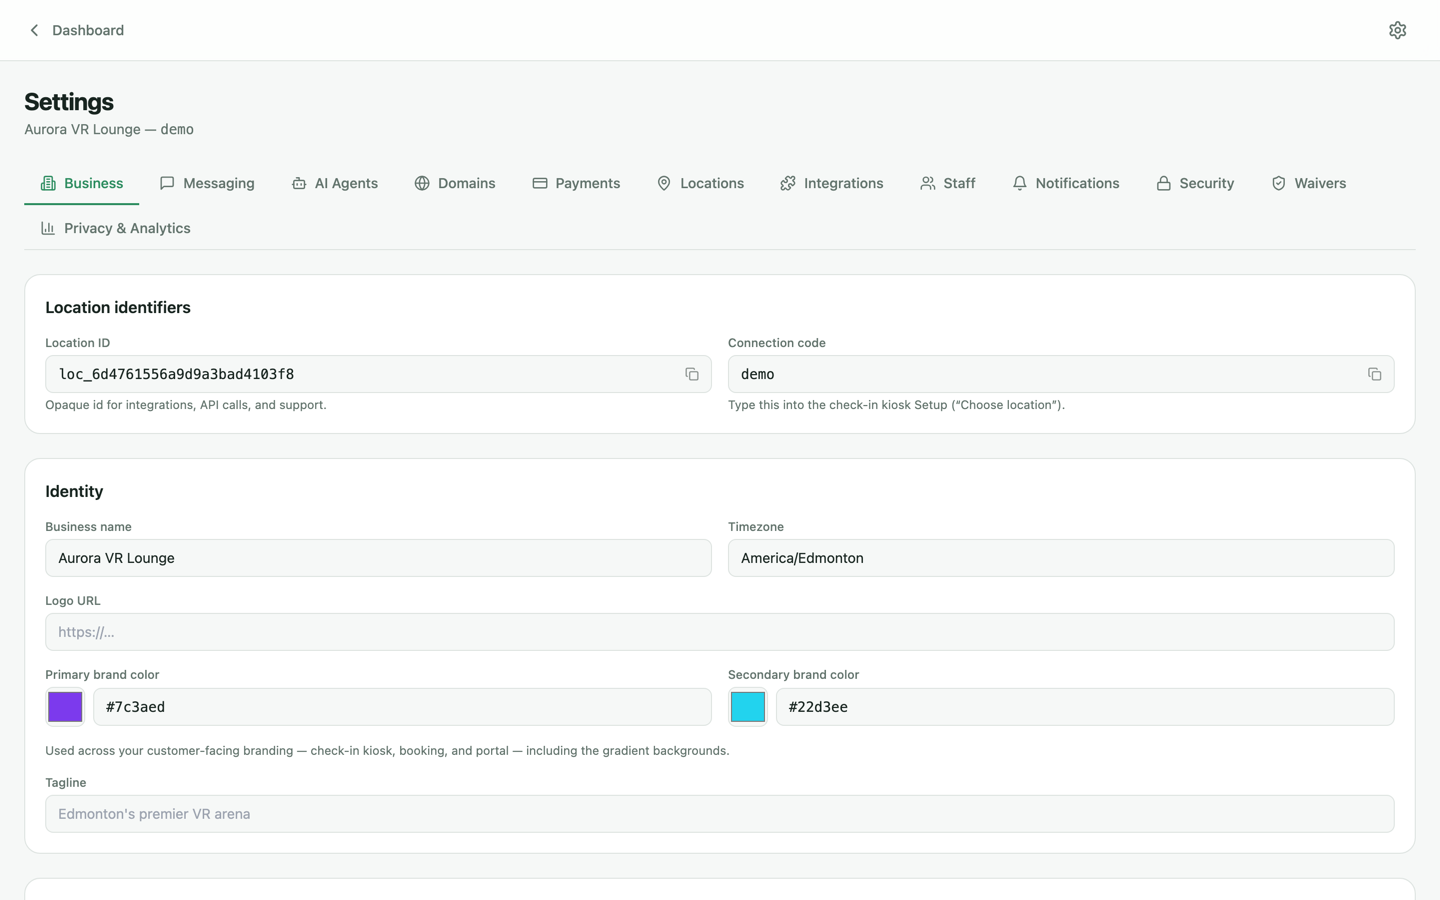
Open Settings → Business. This is where your customer-facing brand lives:
- Business name, timezone and tagline — shown on your booking site, kiosk and portal.
- Logo URL and brand colors — the primary and secondary colors drive the gradients across your booking site, check-in kiosk and customer portal.
- Location ID and connection code — the connection code is what you'll type into a tablet to pair it as a check-in kiosk (see the Kiosk & waivers guide).
4. Add your games and experiences
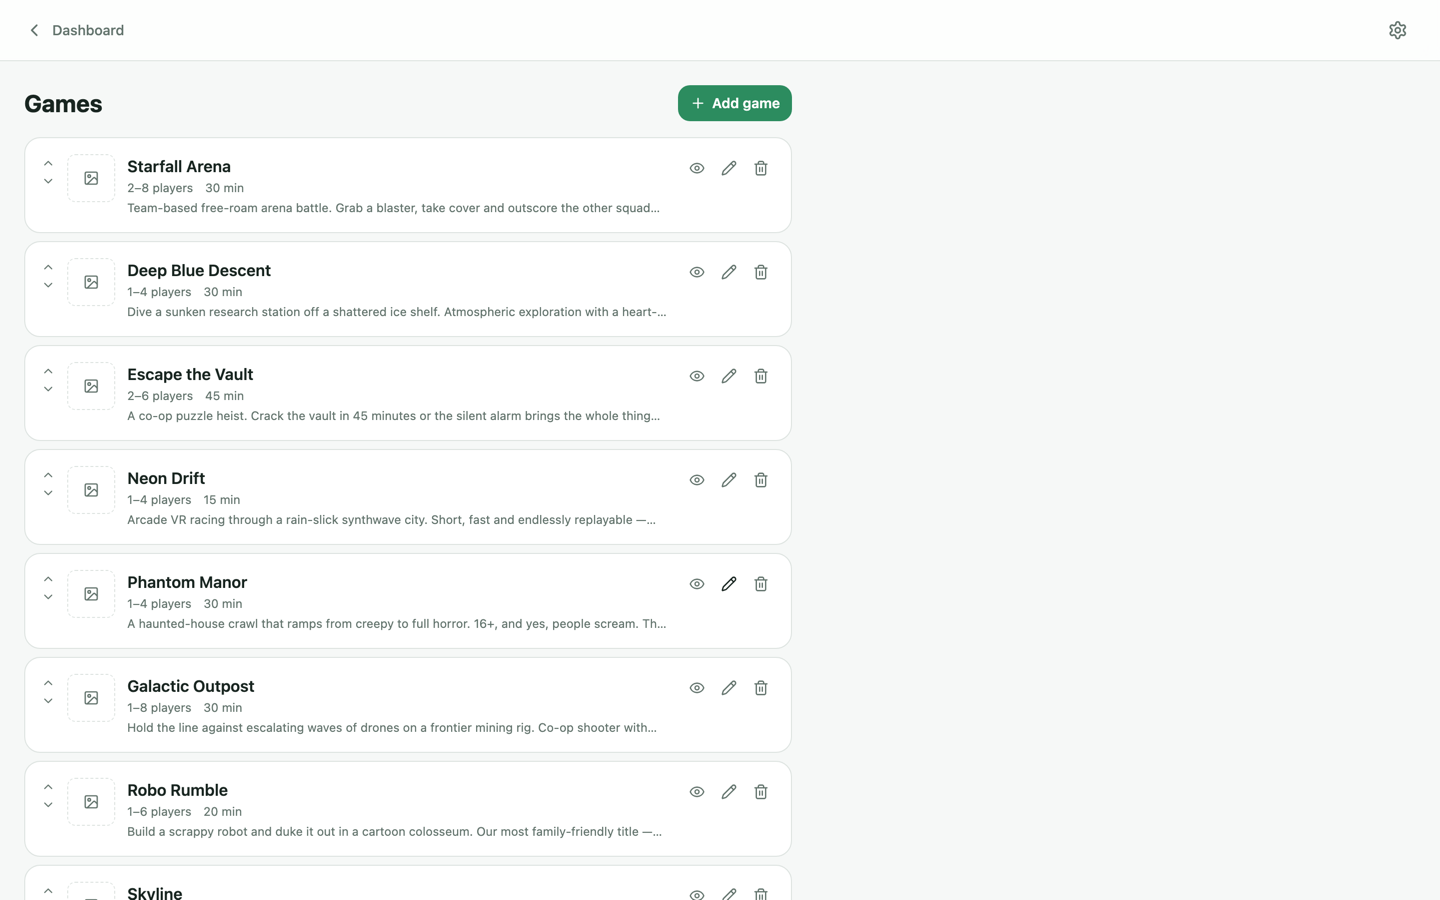
Go to Games and click Add game. For each experience set the name, description, player range, duration, and upload cover art or a trailer video. Games power your booking site's catalogue, session scheduling and the operator console — there's no cap on how many you can add, and drag handles let you control the display order.
5. Invite your staff
Under Settings → Staff, invite teammates by email and give each a role:
- Owner — full access, including billing and security settings.
- Manager — day-to-day operations, bookings, customers and marketing.
- Staff — front-desk essentials: bookings, check-ins and conversations.
6. Take your first booking
Your branded booking microsite is live from the moment you sign up. Share the link, or make a test booking yourself: pick a game, choose a date and time, enter guest details and pay (connect Stripe first — see Payments & terminal). The booking appears on your dashboard instantly, confirmations go out by email and text, and guests get a link to sign their waiver before they arrive.